All documents are stored here for historical reference purposes only. Copyright is retained by their original owners.
Skip to content
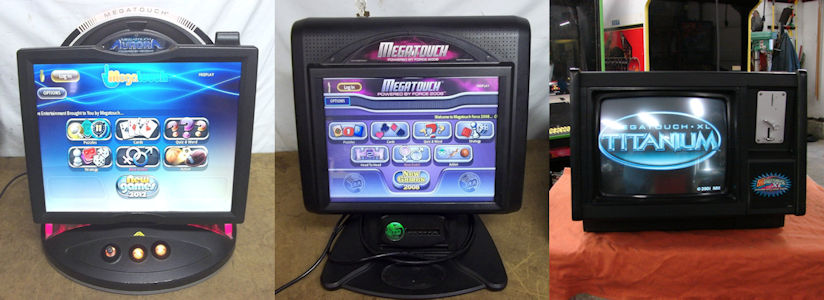
Megatouch Repair, Help, and Technical Support
Manuals, parts, and other resources to fix your broken Megatouch